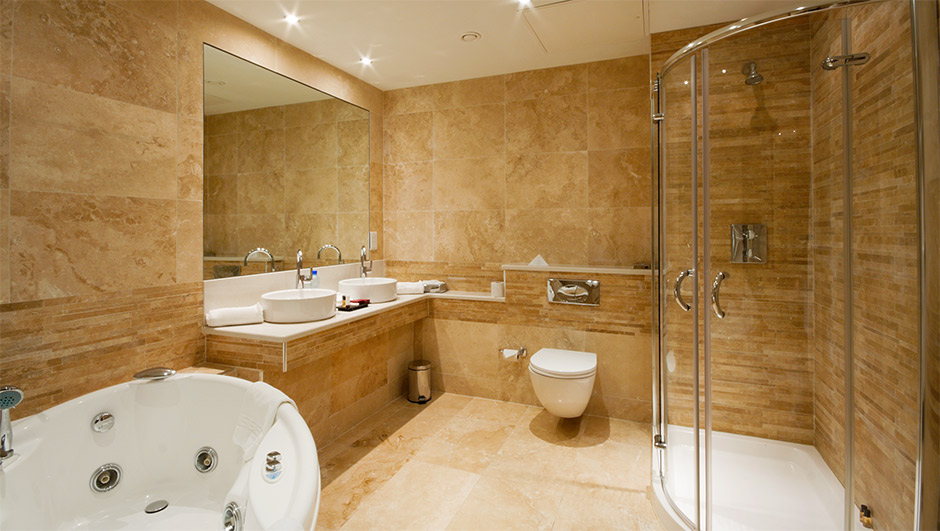
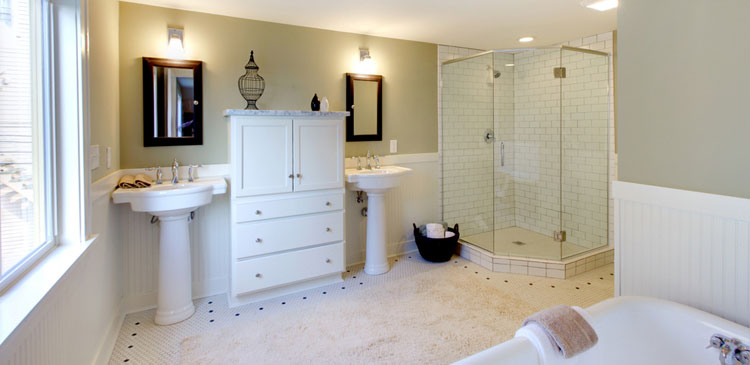
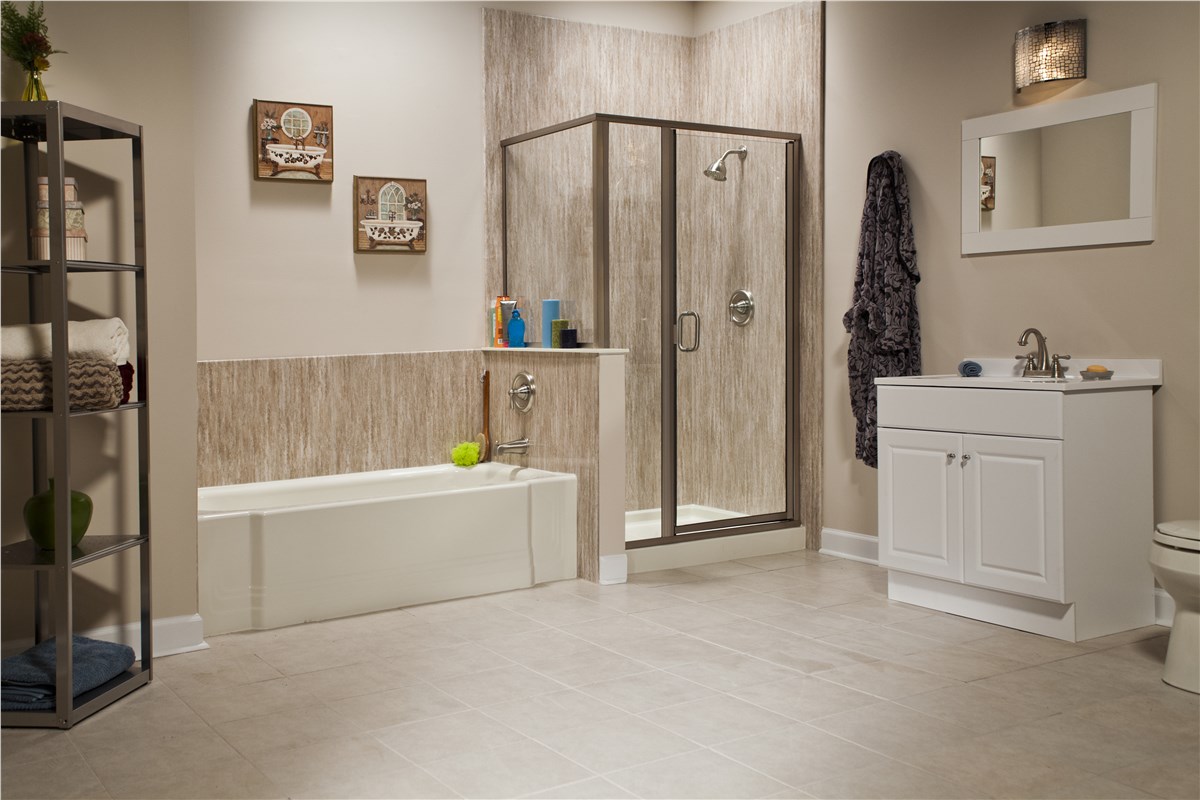
Remodeling a bathroom is a project that demands careful planning, patience, and a well detailed budget. Gutting your bathroom should be the initial step when preparing it for a remodel.
Some homeowners prefer gutting it by themselves to save some money and have fun. However, demolition may be tricky. It is crucial to do it the right way to guarantee a successful bathroom renovation.
If you have plans to gut your bathroom and are wondering how to do it, the tools you required, and how you will handle the existing plumbing fixtures, then you have landed on the right place. Consider these five tips on how you will rip your bathroom.
Turn Off All Plumbing and Electrical Connections
First turn off water and power before ripping out the sink, toilet, shower, or tub. Locate the circuit breakers and electrical panel linked to your bathroom and switch off power.
Double-check that you have turned off all electrical switches and water outlets before you remove any bathroom fixture or a wall section. You should also be careful when tearing anything down. For instance, avoid damaging or ripping out electrical boxes and wires.
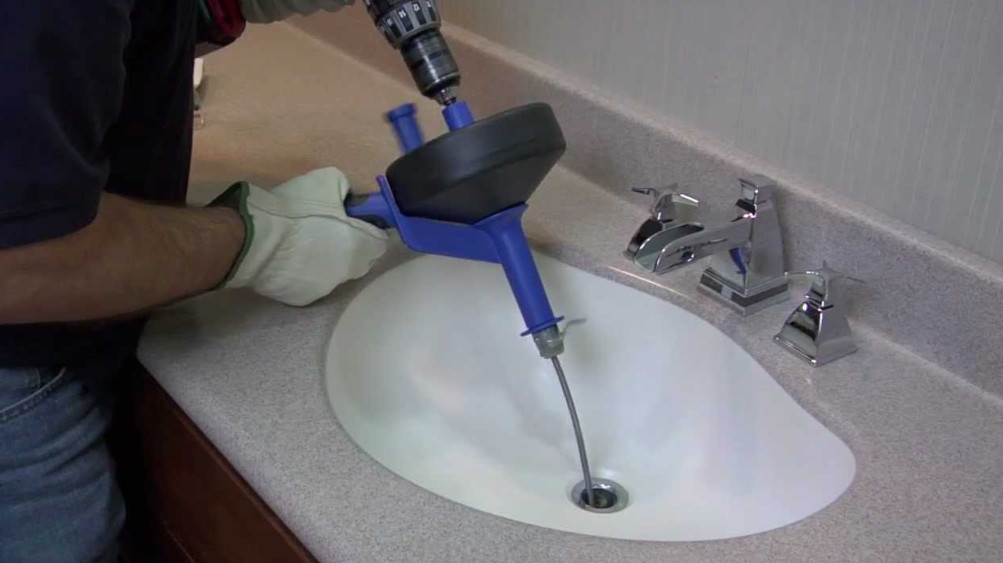
Plumbing comes with more challenges. Some fixtures have shut-off valves that are hidden behind a wall and may be challenging to access before demolition.
In case you are unable to turn off a valve within the bathroom plumbing, then turn off water from the main tank. Ensure you cap the pipes after tearing them down. You can install individual valves in a better location in case you will need to access them in future.
Remove Tub Tiles Carefully

Most tiled tubs or showers are easy to remove using a hammer and pry bar. In some instances, you can use a reciprocating hand saw to do the removal more quickly. However, wise DIY homeowners will do it slowly to avoid damaging the tub or shower.
You can first gut the rear wall, that is the wall directly opposite the door or open wall. Start at around chest height. Knock down a small section of the rear wall, may be around 12-16 square inches.
This will allow you to inspect the section behind the rear wall for any plumbing, mechanical, and electrical elements that may be in that area. In case the area is clear, then proceed with gutting down the wall horizontally. First remove the entire rear wall before tearing up the other walls.
Once you have completely removed the rear bathroom wall, expose the insulation and studs. Start with the wall facing the showerhead or faucet. Repeat the same process of ripping out a small section around chest height.
Then go on ripping out the wall as you inspect whether there are any fixtures behind the it like in the previous step.
Finally, rip out the wall where the showerhead or faucet is attached. Expert contractors agree that the best way to do this is starting from a single side where the plumbing is fixed.
Then move towards the plumbing slowly while being careful to avoid causing any damage to the fixture. Use a pry bar or hammer and be keen on every move you make.
Tarp Fixtures to Protect Them
Some bathroom renovation projects demand for brand new fixtures. Other projects can work well by reusing quality fixtures in an upgraded or new setting. Use heavy duty and high quality grade tarps in case you will want to reuse the sink, toilet, or shower.
Tape down fixtures with some craft paper and cover them using a layer of tarp to keep them protected against superficial damages such as gouges and scratches during renovation.
You can also choose to take protection further by putting down a quilt between the fixture and a drop cloth or right above a drop cloth. Doing so will assist in avoiding friction that may damage the fixture.
Inspect the Insulation and Upgrade or Replace If Necessary
When you remove the flooring, walls, and tiles, you will open up the bathroom to reveal the studs and insulation behind the walls. Most insulation tends to deteriorate with time such that if you own and older home, you might find a messed up insulation behind the walls.
Deteriorated or old insulation will not be efficient and this may lead to more problems. Replacing deteriorated and old insulation will be the ideal thing to do to improve efficiency.
Some homeowners opt for foam or spray insulation. Others prefer sticking with fiberglass batten type of insulation for its affordability and ease of installation.
Whichever option you go with, ensure you will include a layer of a poly material to protect the insulation from moisture. Ensure you go for products that are R-value rated as per the climate in your area. Also, consider sealing any holes and gaps with an expanding foam to ensure the room is tightly finished.
Expect To Make Some Upgrades or Additions to Your Remodeling Plan
Like mentioned earlier with bathroom insulation, gutting the room will often reveal deterioration and aging. Years of exposure to moisture may lead to decay on any construction material.
Hence, aged parts may require replacement to enhance the property’s resale value and safety. When planning for a bathroom remodel project, expect to do some upgrades here and there and you won’t get shocked once the room is gutted down.
For instance, you might find old and aged galvanized plumbing or worn out wiring around the bathroom. Replacing such fixtures when the bathroom walls are gutted down will save you a lot of money.
Although this may delay the planned project completion time and increase your budget, ignoring deteriorating and aged fixtures while renovating is not advisable.
Ensure you inspect the current condition of these sections during and after gutting down your bathroom:
- Electrical fixtures and wiring
- Plumbing, including pipes, valves, and any other plumbing components
- Mechanical fixtures such as heating vents and exhaust fans
- Window and door frames
- Footers and studs
- Insulation
With a good remodeling plan and the right tools, gutting your bathroom will be fun. Always be careful when tearing it up by first turning off water and electricity before gutting it down.
Ensure you take time when proceeding by doing every step slowly and carefully especially with the shower or tub and other bathroom fixtures. Protect the fixtures with a layer of tarp to avoid a costly mess.
You might find deteriorating plumbing, studs, wiring, and insulation behind the flooring, tiling, and the ceiling. Hence, be ready to replace or upgrade aged and worn out fixtures to give your bathroom renovation project a superb finish.
